Here's the process, more or less. If you want to see more, there are several other tutorials out there on the web, such as: http://sewwonderful.blogspot.com/2010/02/disappearing-4-patch-or-4-to-9-patch.html. You start with a 4-patch. I started with 6-inch squares.
 The only rule about fabric selection is to avoid anything directional, unless you don't mind part of the design being upside down. I was amazed how many of the cat prints in my collection had all the cats pointing in the same direction. I'll have to look for some that are non-directional.
Once you have a 4-patch, you lay it on the cutting board and proceed to cut it into a 9-patch.
 I decided to measure out 2 inches on each side of the center seam, but the measurement is really arbitrary. After I had the block assembled, I thought maybe 1-1/2 inches might have been better, but I wasn't going to waste a finished block.
Once the 4-patch is cut into 9-pieces, take the middle piece on each side and rotate it 180 degrees. You end up with something that looks like this:

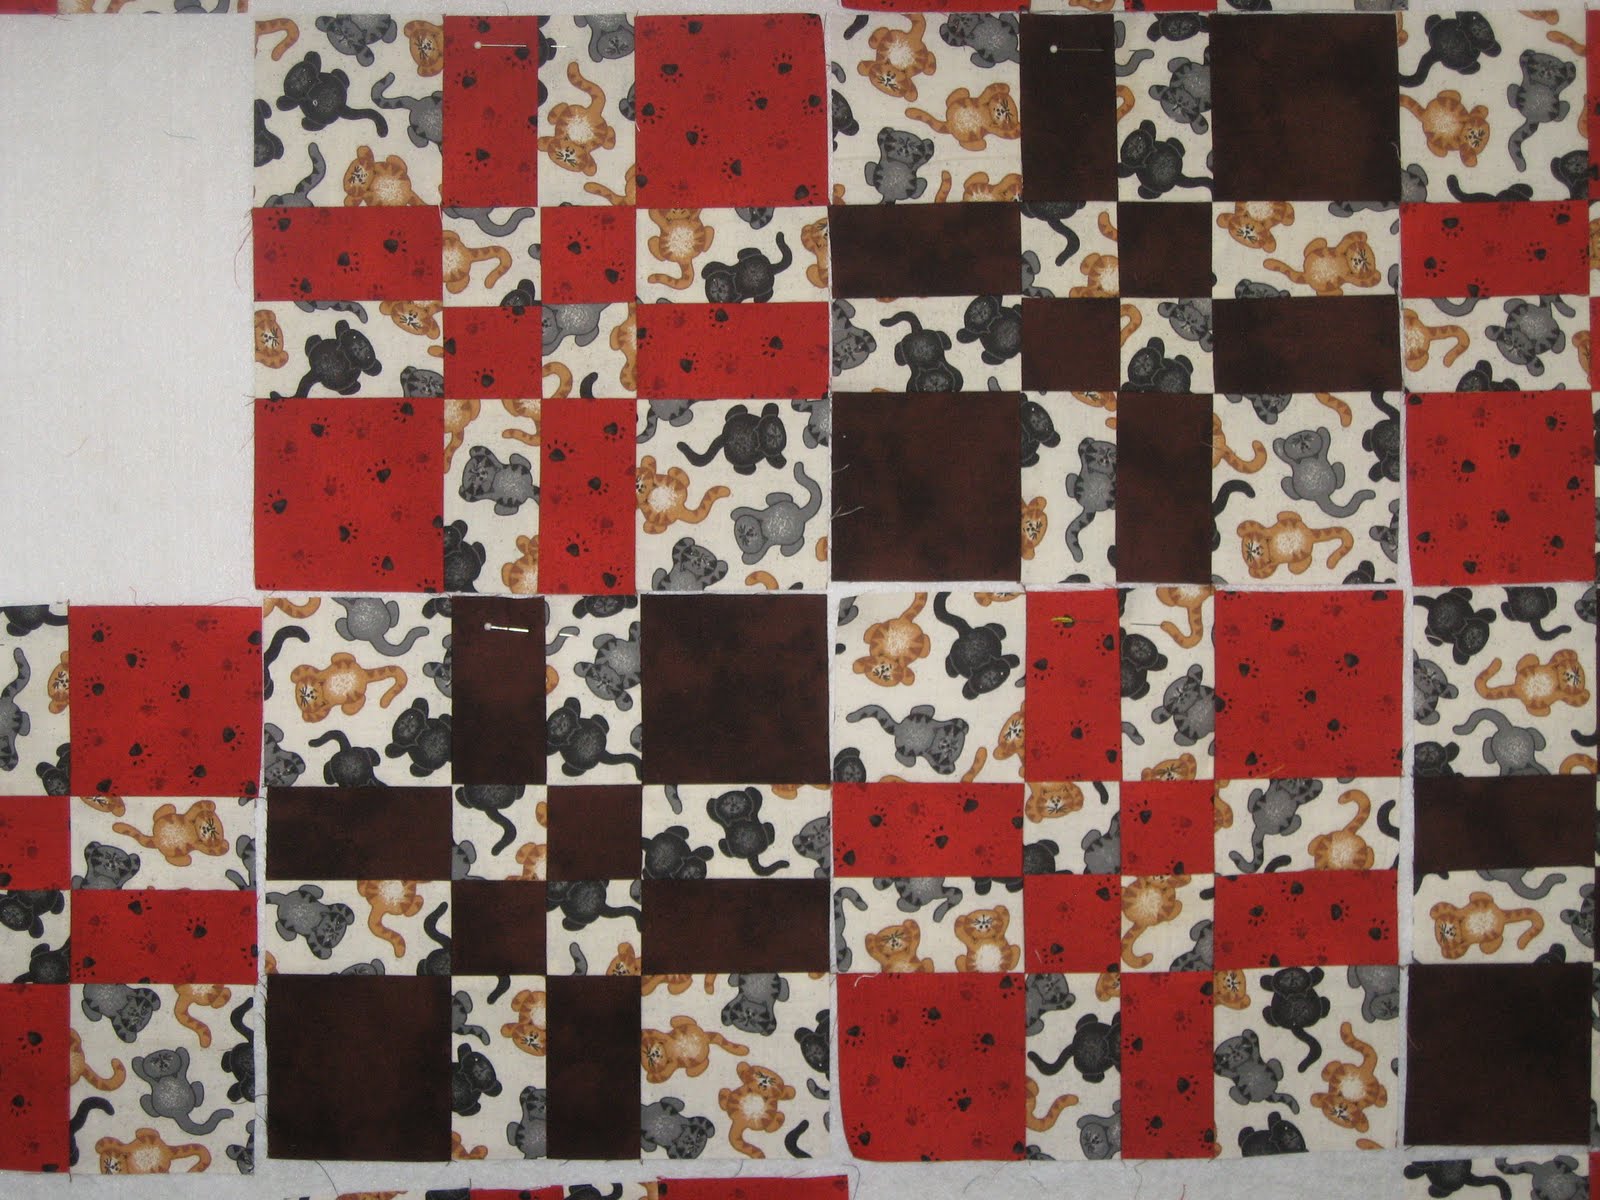
Then all you have to do is sew it together like any 9-patch, and you're done. Add a bunch of other blocks and you have something like this:
A couple of thoughts about the cutting of the 4-patch. This is definitely a time where "measure twice, cut once" comes into play; don't ask me how I know this. The other thing is that you really don't want to pick up the pieces part way through cutting the block. I have a small cutting board (it shows green on top of my big blue mat in the pictures) that I can rotate so I don't have to stand on my head to cut in the horizontal. It also helps that I can use a rotary cutter equally well in either hand, but that's not essential.
This quilt will end up with 24 blocks, plus a border if I can find something in stash that I like. I suspect this will be a place to use one of the stripes or directional prints I rejected as my main fabric. I'm hoping to have the whole thing put together by the end of the day tomorrow. I have another new project waiting in the queue that I'm itching to start on, so I want this one off the design wall as soon as possible.

